
Early Morning Start
We started early in the day so that we could finish the project in as little amount of days as possible.
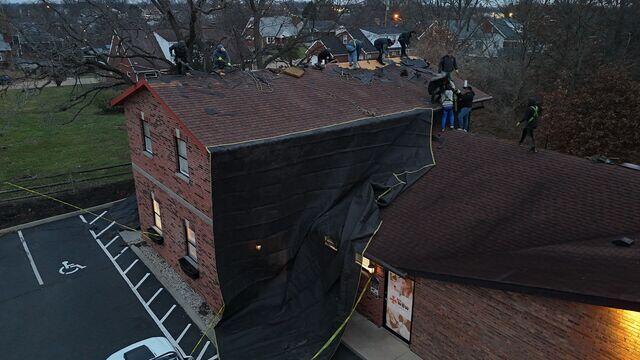
Tarping
When removing debris, we like to put up tarps so that the space stays clean. We also put up caution tape because we didn't want anyone to step on a old nail.
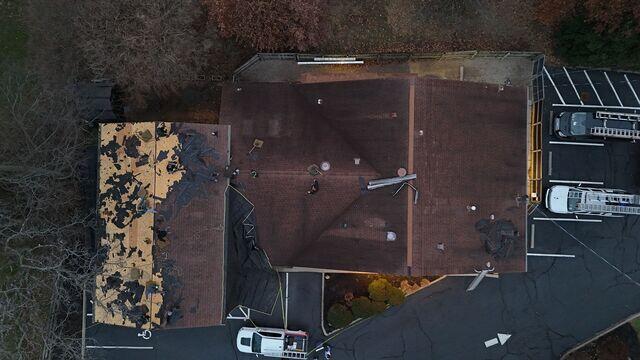
Shingle Removal
This is what the roof looked like before we replaced it. We started from the left side of this photo and worked our way right.
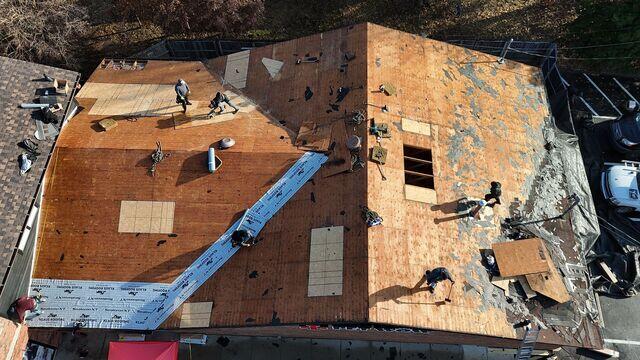
Decking Replacement
In this photo, you can see the wood we had to replace. We replaced parts of the decking because in some spots, the wood wasn't to code.
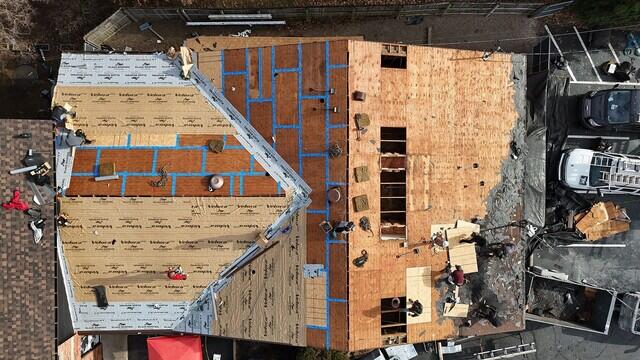
Taping
We start the underlayment process by taping all the seams in the decking with our blue waterproof tape. Scroll to the next photo to learn more about the underlayments.
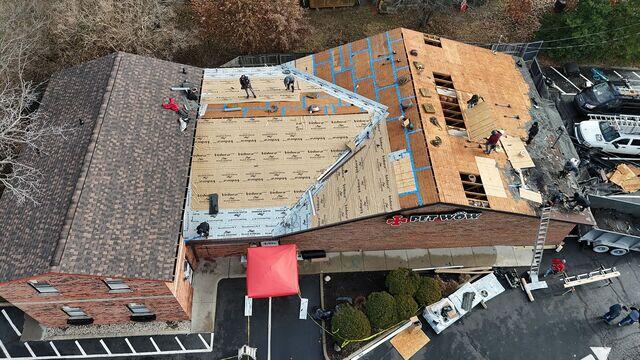
Underlayments
The white underlayment seen in this photo is our KRS Sealoron Ice & Water Shield. We adhere this underlayment to the wood with its glue backing. The glue helps the underlayment create a seal when we nail our shingles through it later in the project. We like to place this white underlayment in the most vulnerable leak spots in the roof. The tan underlayment is our KRS Velora synthetic. We like to place this underlayment everywhere else the white underlayment is not.
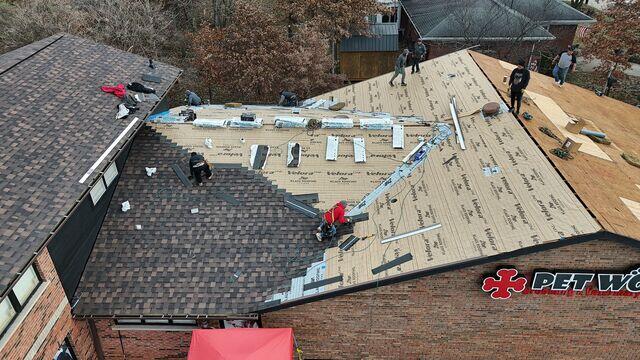
Shingle Installation
Here we are installing the IKO Dynasty shingles. These shingles have a reinforced nailing strip that is 40% larger than other shingles. This increased nailing strip size makes installation faster. This strip also helps increase the shingles resistance to wind.
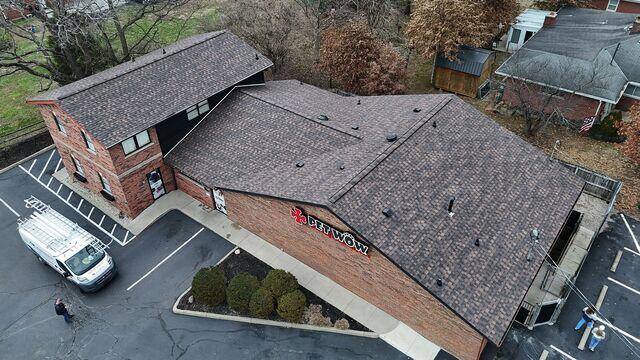
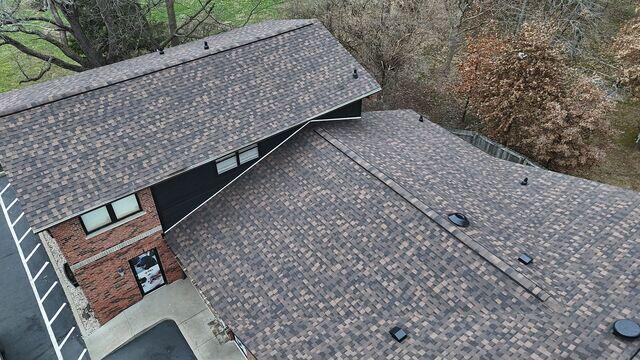
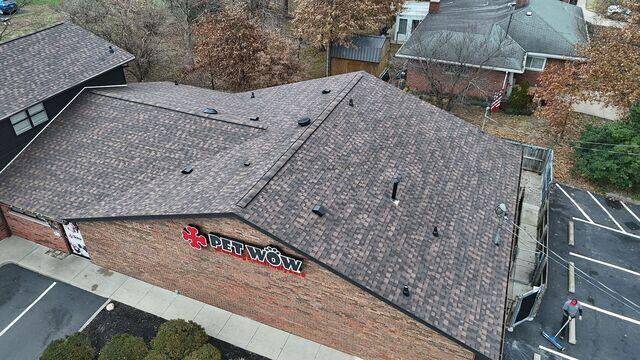
New Roof
The Shadow Brown IKO Dynasty shingles match the brick siding and the branding of the clinic.
Class Three Shingles
These shingles are classified as class three shingles, which refers to its hail resistance impact, (it's pretty good).
Algae Resitance
These shingles are infused with copper, which helps prevent algae growth. This was important for the business, as its always a good idea to have a business front that stays clean.
